-
Voltage and Current: Motors (2019)
-
 Introduction: Fan
 -
Failed Motor Circuit: Insufficient Voltage
-
 Check Your Understanding: Failed Motor Circuit
 -
Mini-Project: Current Investigation
-
 Upload Photo: Measuring current using a multimeter
 -
Check Your Understanding: Current Investigation
-
Mini-Project: Larger Battery
-
Upload Photo: Creating a Larger Battery
-
Check Your Understanding: Larger Battery
-
Motor Direction
-
Fuses
-
Upload Photo: Using a Fuse
-
Check Your Understanding: Fuses
-
Rechargeable Batteries
-
Check Your Understanding: Rechargeable Batteries
-
Project: Fan
-
 Upload Video: Fan
 -
Upload Block Diagram: Fan
-
Rechargeable Batteries
Mini Project Motor Box with Rechargeable Battery
You may have noticed that the coin cell batteries quickly lose its “charge” as you keep the motor running. Continuing to use the coin cell batteries to power the motors can end up being very costly. Instead, we can utilize batteries that are rechargeable.
Find the following components in your kit:
-
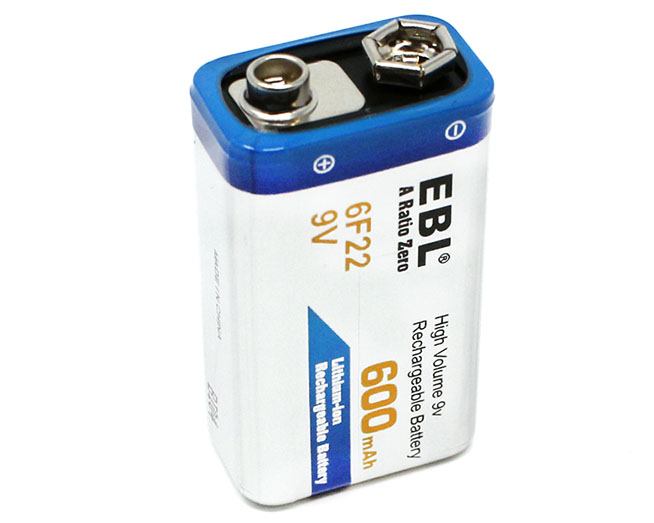 Rechargeable 9V battery
-
 Rechargeable 9V battery Charger
-
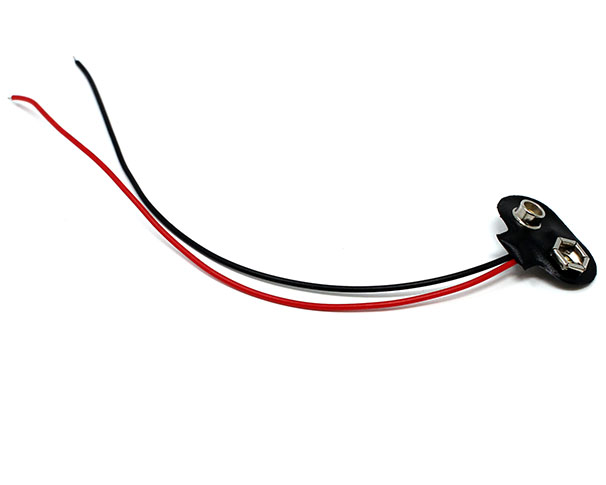 9V Battery Connector
The Lithium-ion Rechargeable battery will need to be charged. Plug the battery into the charger, and plug the charger to an outlet. It may take a few hours to fully charge.
While rechargeable batteries are very useful, we also want to make sure that we are being safe when handling them.
Rechargeable batteries use a special chemical inside to allow it to be rechargeable, but the chemical can also be very dangerous if it is exposed to skin. Be sure to always use protective material (gloves, safety glasses, etc.) if you need to clean up any damaged batteries.

Attach the Quick Connect battery connector to the battery.

Create wires with alligator clips on both sides to connect to the 9V battery connector.
Follow along with this module to prepare wires with alligator clips.
To begin crimping clips, you will need the following:
-
 Alligator Clip
-
 Wire
Wire
-
 Alligator Clip Crimper
-
 Wire Stripper
Take the end of the wire, and make sure there is enough conductor exposed to attach the connector -- about 1 cm, or half an inch is good for this type of clip.


Insert the exposed conductor through the small loop on the back of the alligator clip.
Note: If the connection is too loose, strip off some more of the insulator and fold the conductor together to create an extra "thick" wire for the alligator clip slot.

Tip: Twist the ends of the conductor strands so they stay together more easily.

Insert the loop + conductor into the slot on your crimper that matches the size of the loop.
Firmly squeeze the handle of the crimper to press the loop closed around the conductor. Many crimper designs will not open back up until you have squeezed far enough -- if the crimper won't open, keep squeezing until it does.

Tip: You can squeeze harder if you grip toward the ends of the handles.

Tip: If you really need the crimper to open early, there is usually a small release latch inside the handle.

To ensure the fit is good on all sides, rotate the connector 90 degrees, and squeeze the handle closed again.

The alligator head connector should now be securely attached to your wire!
Be very careful with the Quick Connect leads! The 6V battery can be very dangerous. Just by simply touching the red and black leads together for a short period of time, you can cause the battery to short circuit and damage the battery. The short circuit can also cause the wires to smoke.

Attach the alligator clips the battery leads.

Replace the coin cell batteries with the rechargeable battery.
Explanation

The rechargeable battery we’re using, just like the A23 battery shown before, is just made up of multiple batteries strung together in series. Connecting these batteries together in series creates a single cell, with a larger combined voltage.
However, it’s what is inside that matters! Rechargeable batteries consists of materials and chemicals inside to be able to not only discharge energy, but to be able to regenerate energy back into the battery. This is done by using a special chemical inside the battery to allow this to happen.

Batteries create electricity by performing a chemical reaction between an anode and a cathode with an electrolyte separating the different parts. The chemical reaction causes electrons to flow from the Anode through the circuit and then to the cathode. Disposable batteries, Like the coin cells we use earlier, produce electricity until the reactions stops taking place. Once the reaction stops the battery is "Dead" and will not provide any more charge and will need to be replaced. Rechargeable batteries have a different chemical reaction that can be reversed when electricity is pushed into the battery (Charging). Charging a battery forces the electrons back to the anode side of the battery, storing energy.
The amount of charge that a battery can hold is rated in Amp hour, or more realistically to the size of a battery, milliAmp hours or mAh. The larger the number of milliAmp hours, the more charge that it can store.